Cheddar Cheese Scones
These Cheddar Cheese Scones are the savory version of the much loved British scone that’s typically enjoyed as a sweet or savory tea time treat, served with jam and whipped cream or jam and cheese.
This British-inspired Cheddar Cheese Scone is round, tall and has a light and fluffy texture. A plain British scone is typically less sweet and smaller than its American counterpart and I’ve incorporated some grated cheese into the scone mix to make it more of a savory treat that you can enjoy with a spread of butter and extra grated cheese on top.
If you’re feeling adventurous, try some of your favorite jam with grated cheese as a spread for these Cheddar Cheese Scones – enjoyed in true British style!
TIPS FOR MAKING CHEDDAR CHEESE SCONES
- Be careful not to overwork the pastry, since it needs to be somewhat light and flaky. Over kneading the dough will also prevent your scones from rising well.
- To ensure that your scones rise well and are fluffy, make sure that you use baking powder that is not older than 6 months.
- Although this recipe doesn’t call for chilling your pastry, it certainly is an option as a way to ensure that your scones rise well and come out light and fluffy. This may be necessary if you live in a warmer climate despite having added cold butter to the pastry mix.
- You can try serving your cheese scones with grated cheddar cheese and jam (apricot, strawberry or berry) which is how the English typically enjoy scones. Scones are typically enjoyed at breakfast, brunch, or tea time.
How to make Cheddar Cheese Scones
- Line a baking sheet pan with parchment paper and preheat the oven to 400 degrees Fahrenheit.
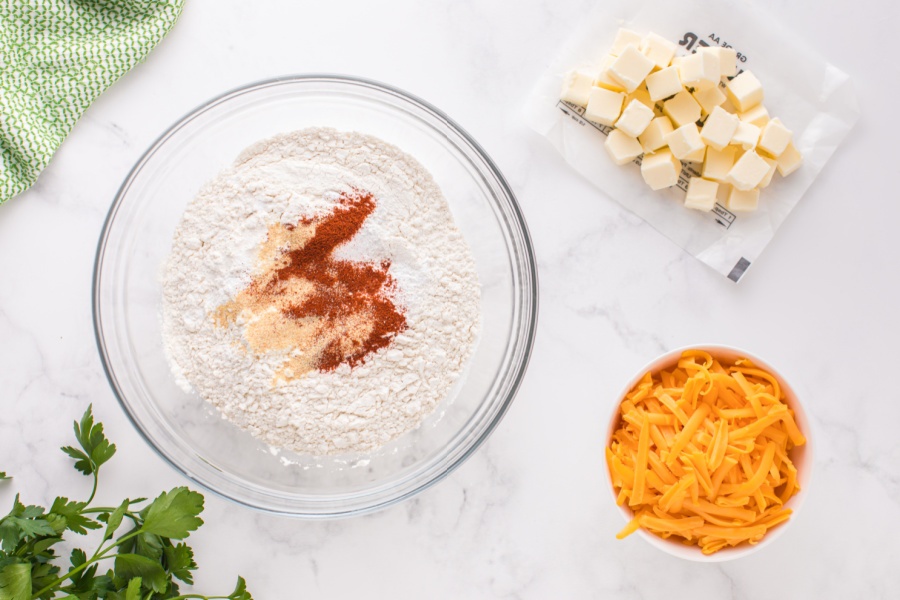
- In a large bowl, combine the flour, baking powder, garlic, salt, and paprika. Stir well.
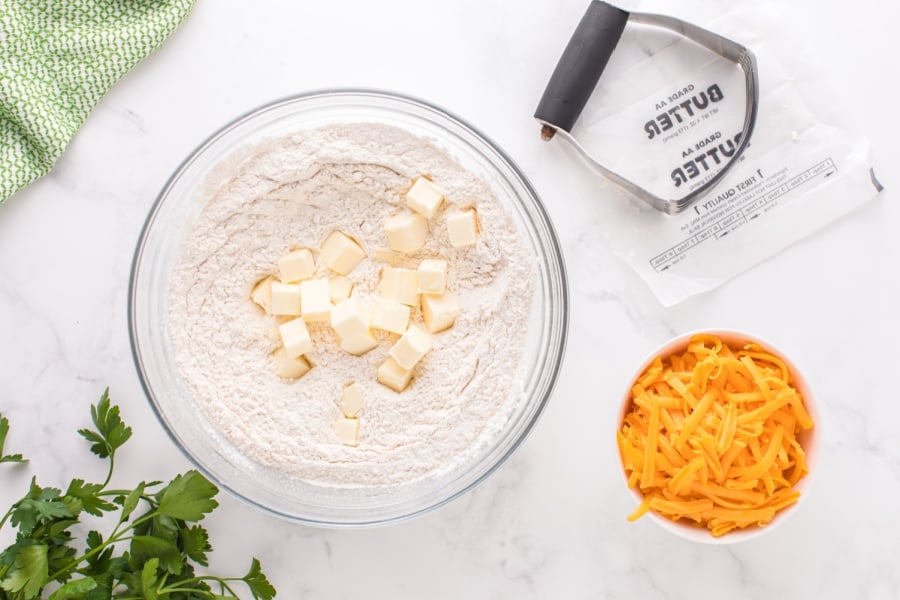
- Use a pastry blender to cut the cold butter into the flour mixture.
- Stir in the sharp cheddar cheese. Set aside for now.
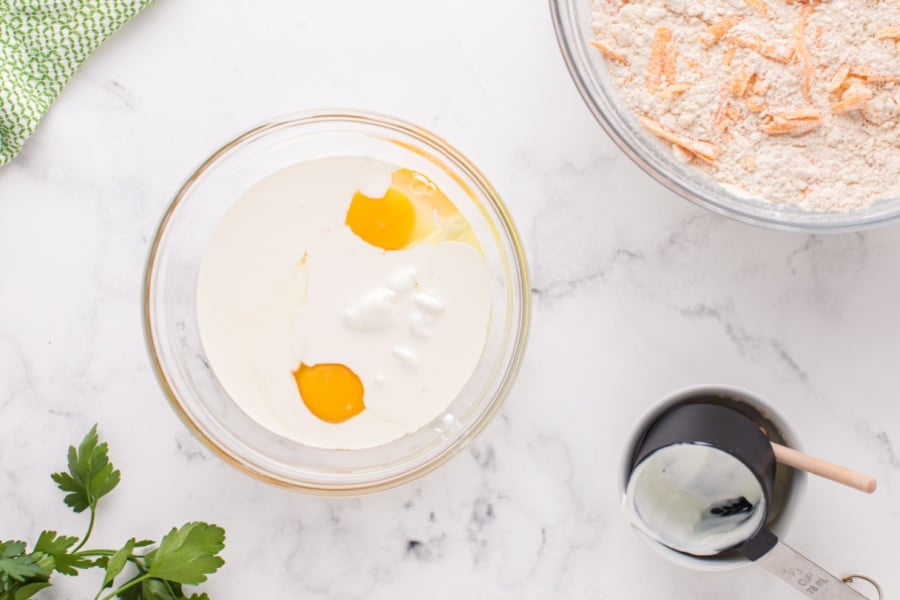
- In a separate mediums sized bowl, whisk together the egg, heavy cream, plain Greek yogurt, and honey.
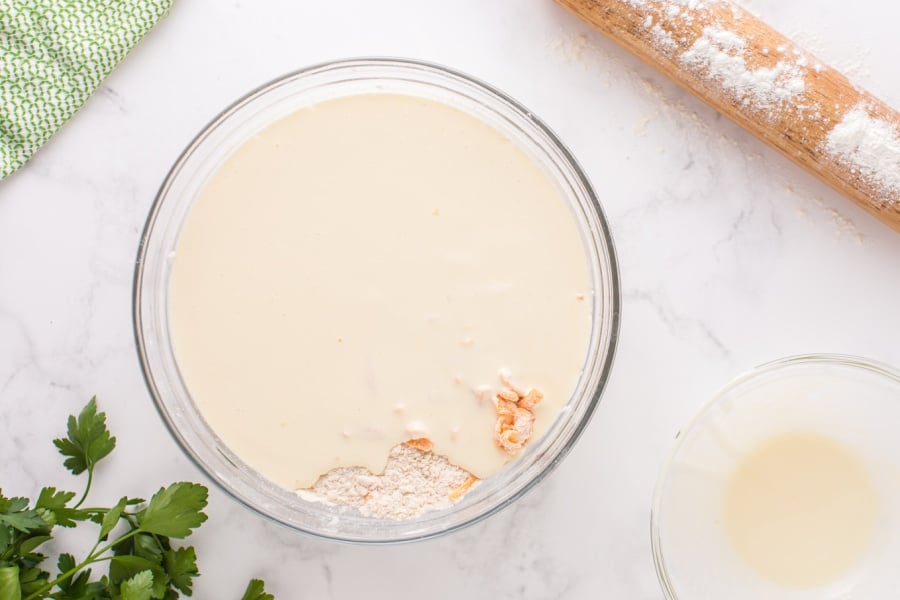
- Combine the wet ingredients with the dry ingredients and mix until dough forms. Don’t over mix. I prefer to use my hands when mixing the dry ingredients in.
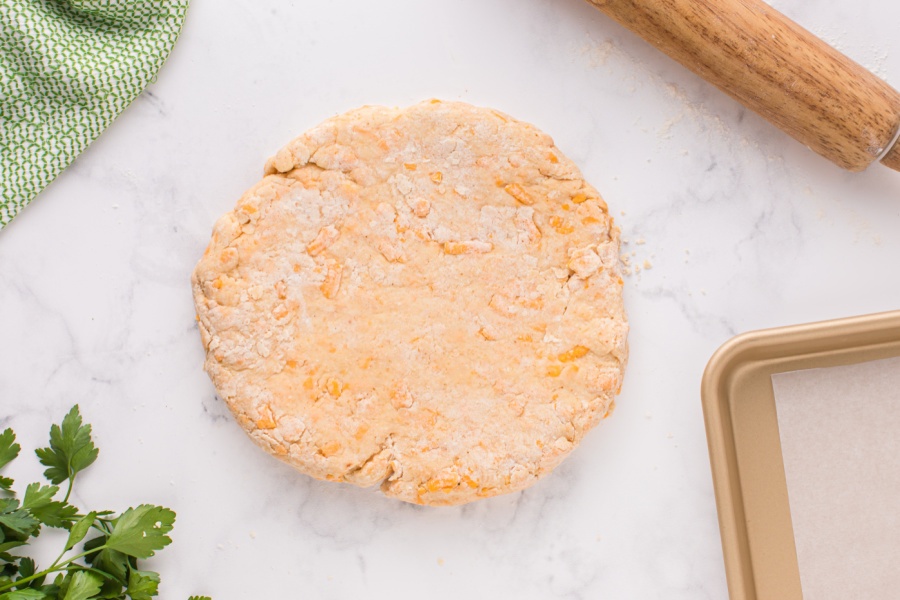
- Turn the dough out onto a floured surface and knead 1 to 2 times to make sure any remaining flour is incorporated. Roll the dough into a circle that is roughly one inch thick.
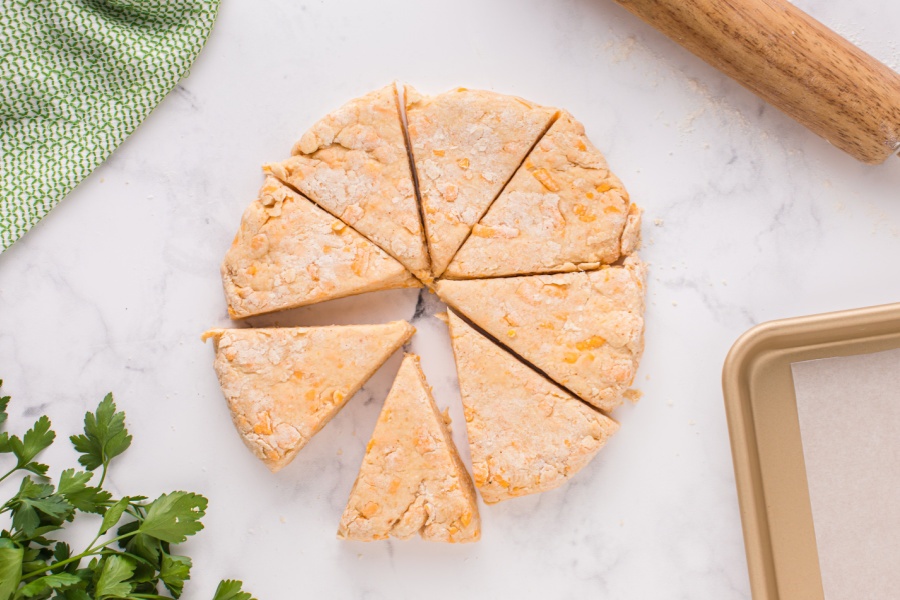
- Cut the dough into 8 triangles (similar to how you would cut a pizza).
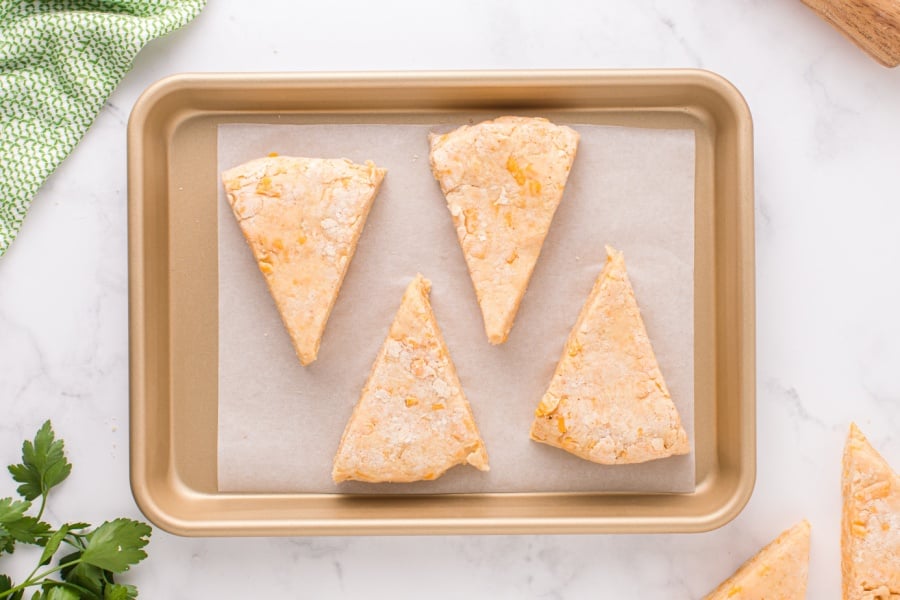
- Place each scone of the sheet pan previously prepared 2 inches apart and bake in the oven for 12-14 minutes until scones have a golden brown bottom.
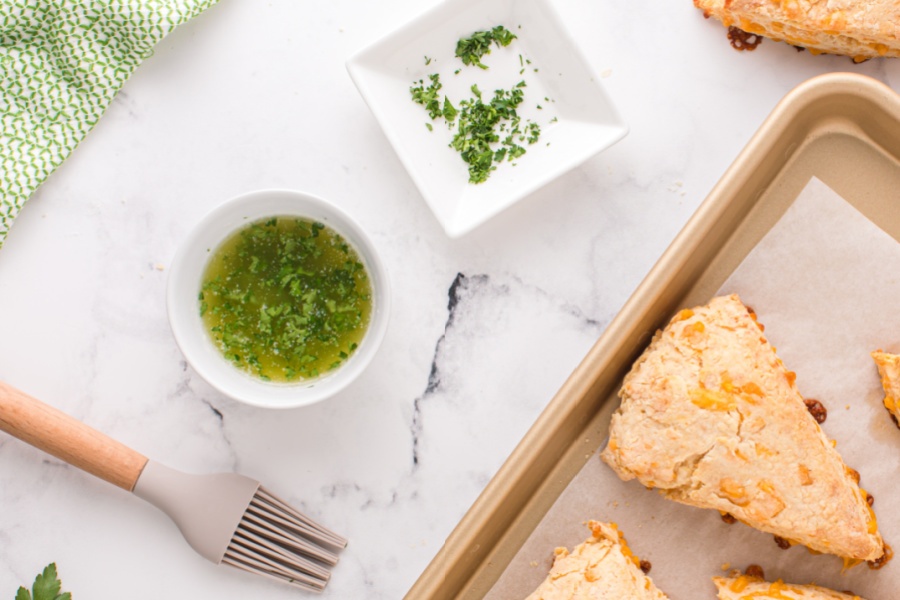
- In the meantime, combine the minced parsley with the melted salted butter.
- Once the scones are done and removed from the oven, brush each scone with the butter and parsley mixture.
HOW DO I STORE THESE CHEDDAR CHEESE SCONES?
- These scones can be kept at room temperature in an airtight container for up to 3 days. You can also freeze the dough and bake them at a later date. However, these don’t do as well in the refrigerator or freezer after being baked.
CAN I MAKE ANY CHANGES TO THESE SCONES?
- There are some excellent changes you can make to these scones. For starters, add some bacon bits and scallions to the dry ingredients when you add the cheese. You could also add in some other herbs you might like: chili powder, or oregano, or onion powder, for example. Then, turn these scones into sandwiches. You might never be able to eat another normal sandwich again.
HOW DO I ADD THE COLD BUTTER CORRECTLY?
- The easiest way to add this butter is two-fold. One, cut the butter into 1 inch cubes. Two, using a pastry cutter, mix the cold butter into the flour mixture. The pastry cutter will further demolish the butter so that eventually there are pea size or smaller chunks in the flour mixture.
- You want to use a pastry cutter because it will warm in your hands and you want the butter to stay as cold as possible for the flakiest texture. It will not incorporate completely, which is expected.
More Tea Time Savory Snacks
Mini Cheese Balls
Sausage Stuffing Bites with Cranberry Dipping Sauce
Cheesy Bacon Crescent Roll Ups
Loadede BBQ Tater Tot Nachos
Email Me This Recipe!
Need to save time? Have this article emailed straight to your inbox + sign up for all the latest recipes!

Cheddar Cheese Scones
Email this recipe!
Get this recipe emailed straight to your inbox!
Ingredients
- 1 ½ cups all-purpose flour
- 1 ½ teaspoons baking powder
- ¾ teaspoon garlic powder
- ½ teaspoon salt
- ½ teaspoon paprika
- ¼ cup 1/2 stick cold salted butter, cut into 1-inch cubes
- 1 cup sharp cheddar cheese shredded
- 1 egg
- ¼ cup heavy cream
- 3 Tablespoons plain Greek yogurt
- ½ Tablespoon honey
For Butter topping
- 3 Tablespoons salted butter melted
- 2 Tablespoons fresh parsley minced
Instructions
- Line a baking sheet pan with parchment paper and preheat the oven to 400 degrees Fahrenheit.
- In a large bowl, combine the flour, baking powder, garlic, salt, and paprika. Stir well.
- Use a pastry blender to cut the cold butter into the flour mixture.
- Stir in the sharp cheddar cheese. Set aside for now.
- In a separate mediums sized bowl, whisk together the egg, heavy cream, plain Greek yogurt, and honey.
- Combine the wet ingredients with the dry ingredients and mix until dough forms. Don’t overmix. I prefer to use my hands when mixing the dry ingredients in.
- Turn the dough out onto a floured surface and knead 1 to 2 times to make sure any remaining flour is incorporated.
- Roll the dough into a circle that is roughly one inch thick. Cut the dough into 8 triangles (similar to how you would cut a pizza).
- Place each scone of the sheet pan previously prepared 2 inches apart and bake in the oven for 12-14 minutes until scones have a golden brown bottom.
- In the meantime, combine the minced parsley with the melted salted butter.
- Once the scones are done and removed from the oven, brush each scone with the butter and parsley mixture.
- Plate and serve.
Video
Notes
Nutrition
Nutritional Disclaimer: Family Fresh Meals is not a dietician or nutritionist, and any nutritional information shared is only an estimate. We recommend running the ingredients through an online nutritional calculator if you need to verify any information.
Did You Make This Recipe?
Make sure to share it with me below!
