Pumpkin Pie Rice Krispies Treats
Pumpkin Pie Rice Krispies Treats transform ordinary rice krispies treats into fun-packed Fall-inspired sweet treats that require pantry staple ingredients and no baking time at all.
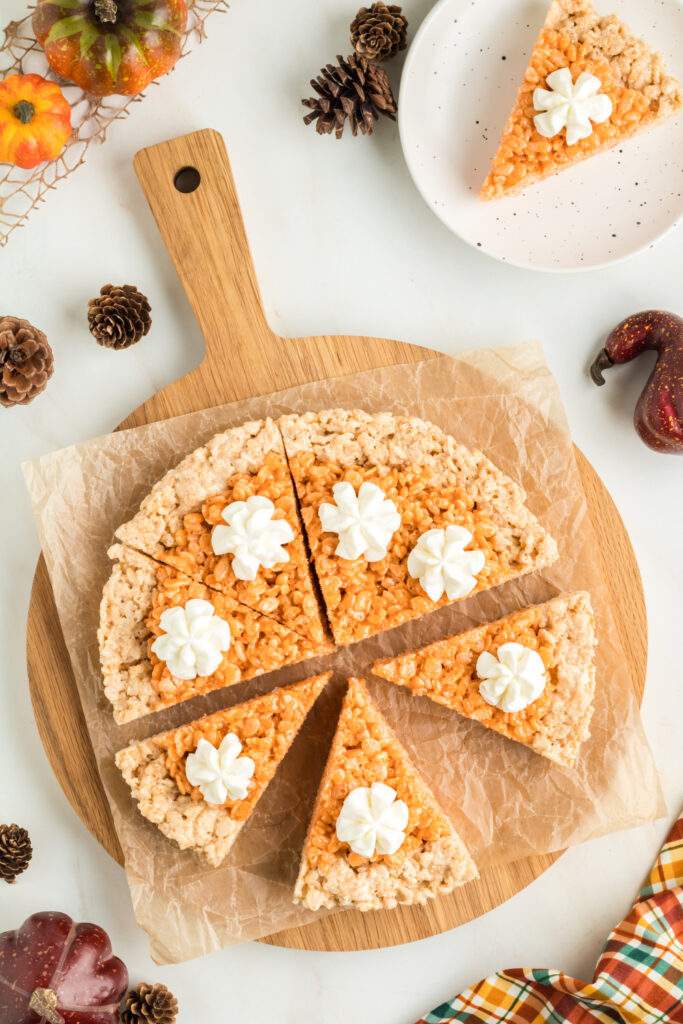
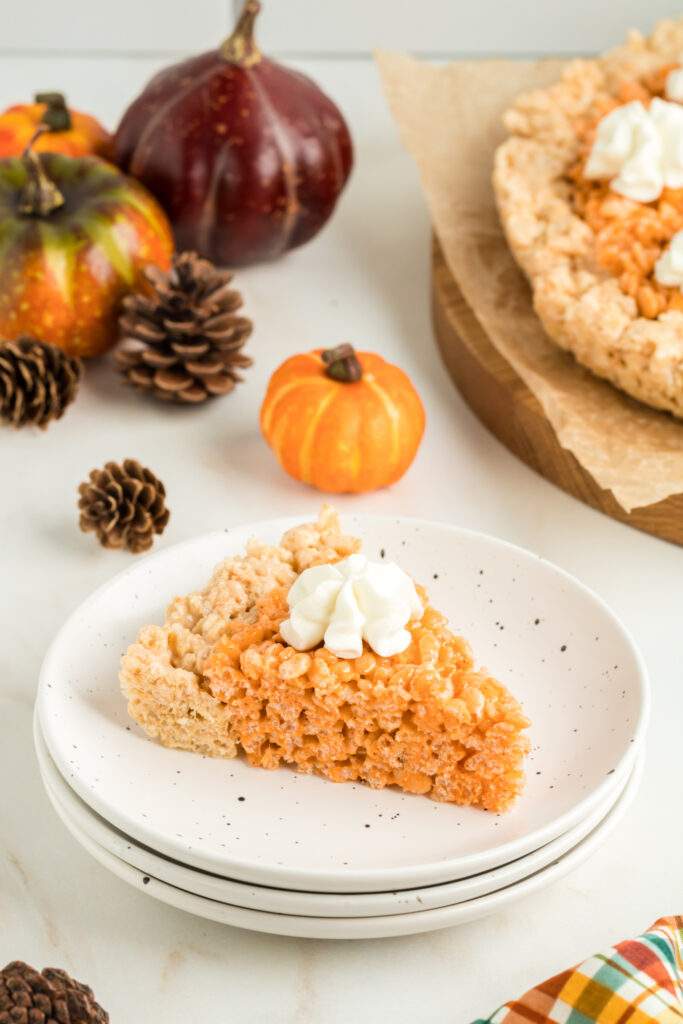
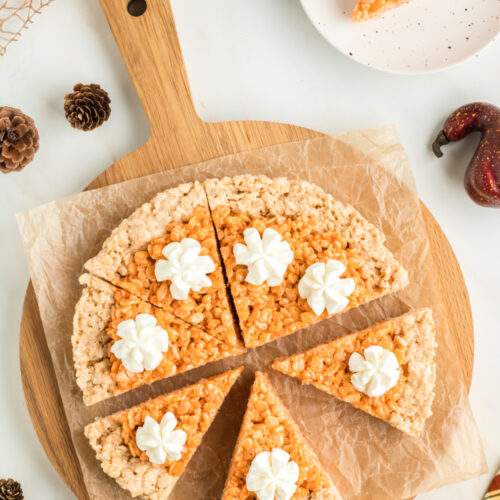
Go ahead and decorate this rice krispie pumpkin pie with piped whipped cream, piped frosting, and colorful sprinkles. Get the kids involved in assembling this rice krispies pie as an interactive Fall or Thanksgiving activity.
Recipe Notes:
- Apply some nonstick cooking spray to your hands to prevent the freshly made rice krispie mixture from sticking to you if you happen to use your hands to press down gently after spreading the mixture into the pie pan or cake dish.
- While I used orange food coloring for the center of the pumpkin pie, you could also use orange melted candy melts instead.
- I’ve used Graham crackers for the outer pie crust but you can also use vanilla cookies or Golden Oreos.
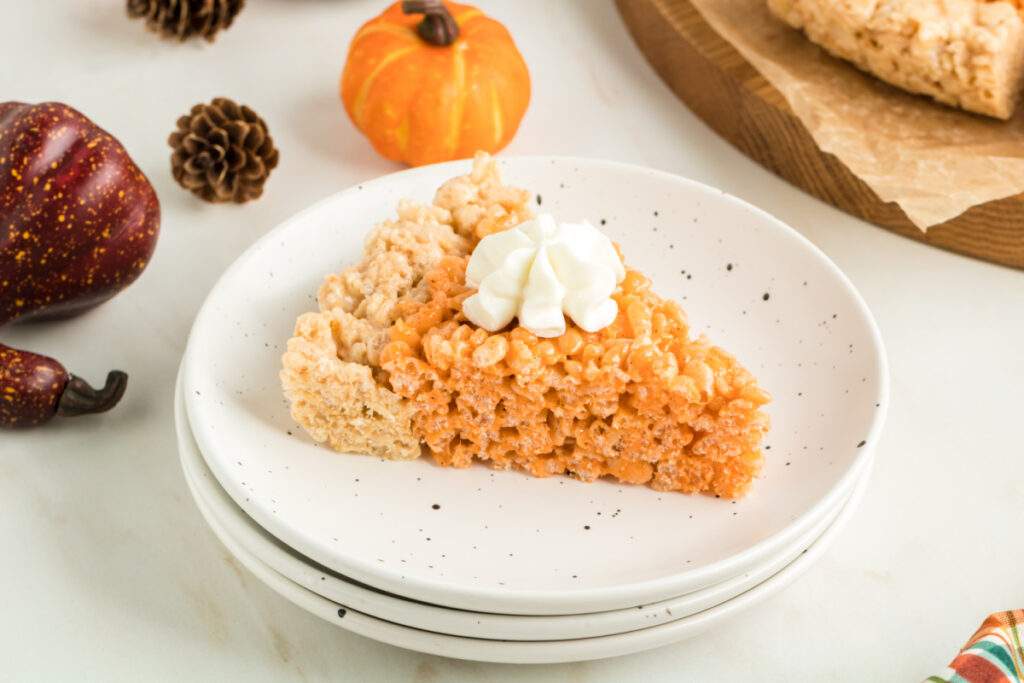
- Decorate your set pumpkin pie rice krispie treat with piped whipped cream or add some orange and white sprinkles to the top of the pie while it’s still slightly sticky.
- If you don’t have a microwave, you can easily use your stovetop to combine the marshmallows and butter.
These Fall-inspired rice krispies treats can be stored in an airtight container at room temperature for up to 2-3 days before they will start to lose their crispness.
I like to line my container with parchment paper to avoid these treats from sticking to the bottom of the container, eliminating mess. You can also place layers of parchment paper between stacked slices of these pumpkin krispie treats.
Yes, you can! If you want to make these ahead of parties or Thanksgiving or you have any leftovers and anticipate the need for a longer storage time than 3 days, then freezing these treats is the perfect solution!
Once your treats have fully cooled, transfer the remaining slices of this pumpkin pie rice krispie treat to a parchment lined baking sheet and add them to your freezer for about 2 hours so that they harden and are less likely to stick together. You can then try to wrap them individually with wax paper before storing in a Ziploc bag or simply add the frozen treats to a freezer bag.
These treats should last for up to 3 months frozen.
Email Me This Recipe!
Need to save time? Have this article emailed straight to your inbox + sign up for all the latest recipes!
Absolutely! You can easily make two pies from this recipe by using a smaller pie pan or cake dish. This is a great idea when making these treats for younger kids. It’ll be a lot of fun for them to assemble these smaller pies too!
Pumpkin Pie Rice Krispies Treats
- Spray a 9” round pie dish or cake pan with cooking spray and set aside.
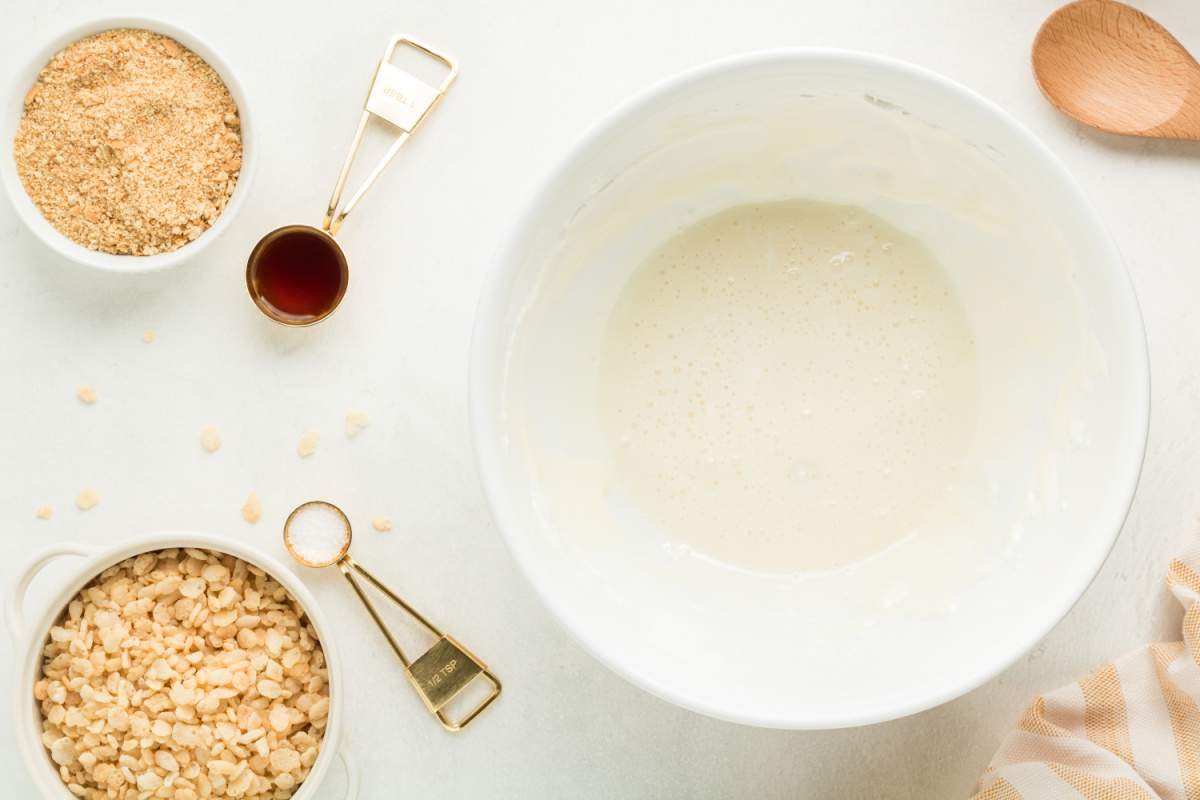
- Add 4 ounces of marshmallows (about 16 marshmallows or 2 cups) and 1 ½ tablespoons of butter to a large microwave safe bowl. Microwave on high for 45 seconds then stir to combine. Microwave for an additional 30 seconds and stir until smooth and well combined. Stir in ½ teaspoon of vanilla.
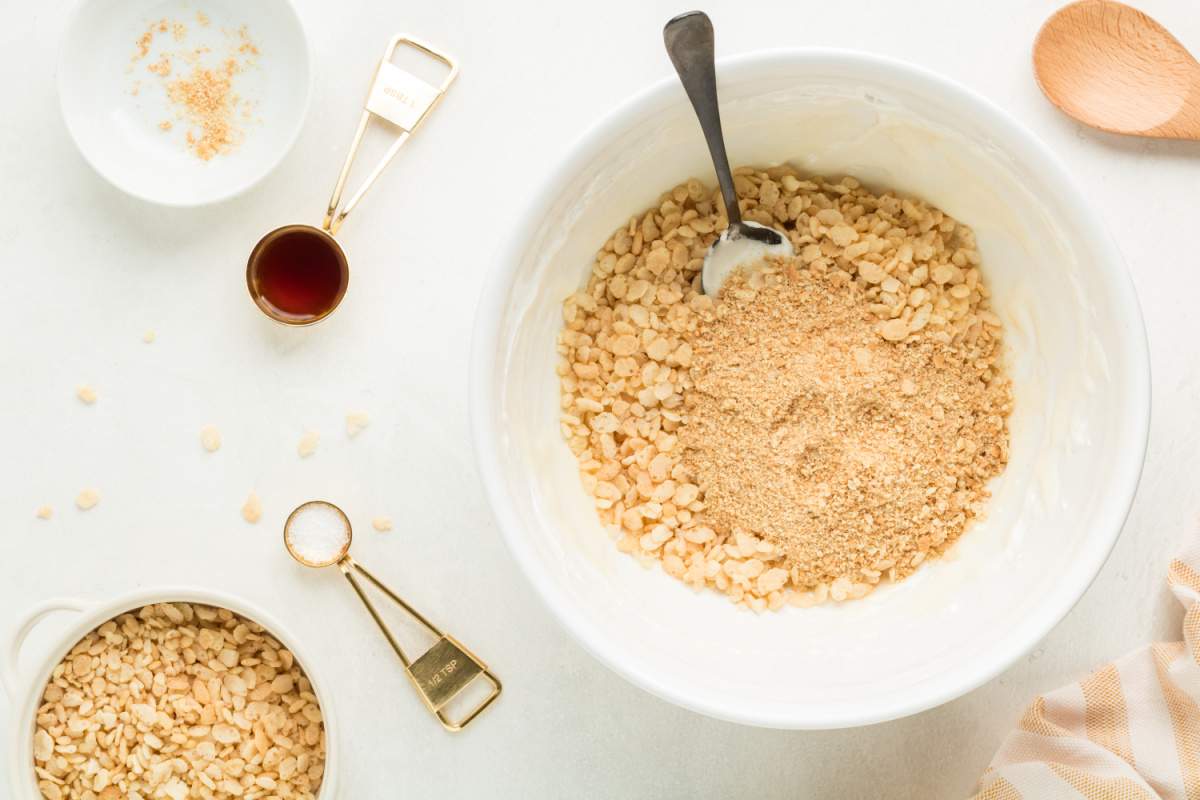
- Add 1 cup of rice krispies cereal and graham cracker crumbs to the marshmallow mixture and stir until well combined and uniformly coated.
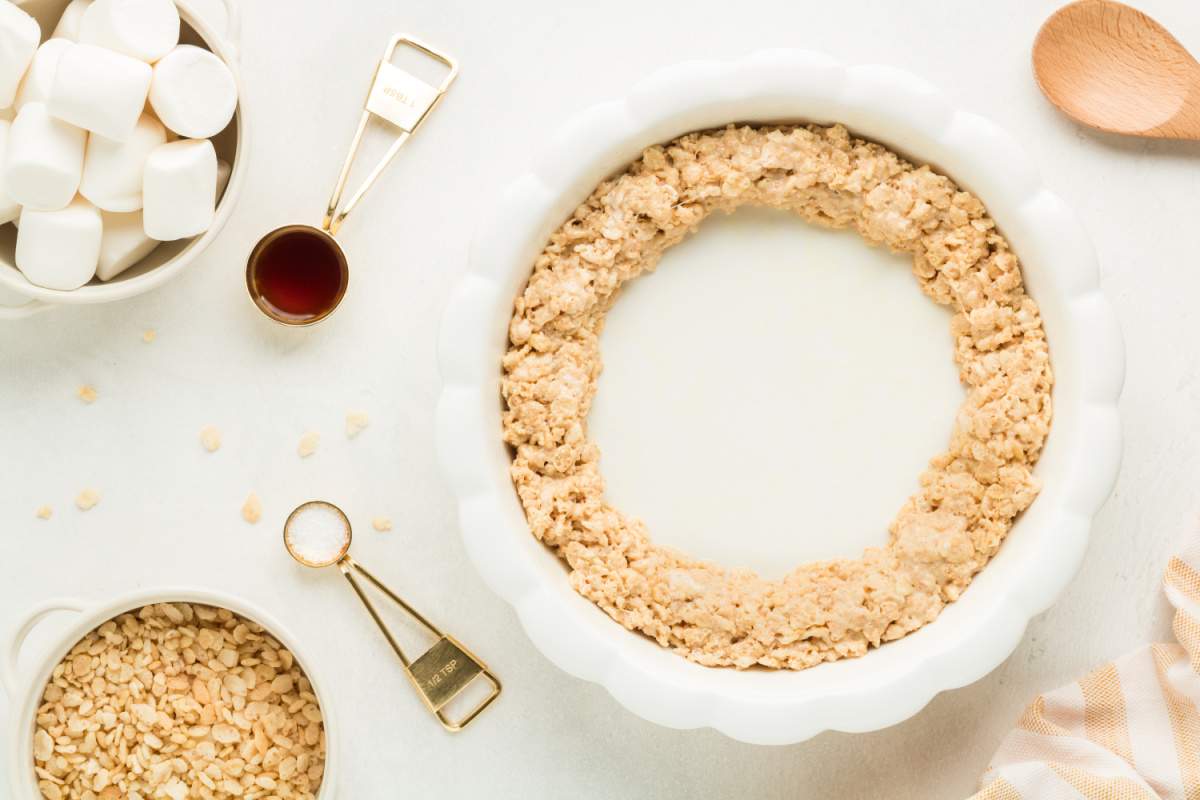
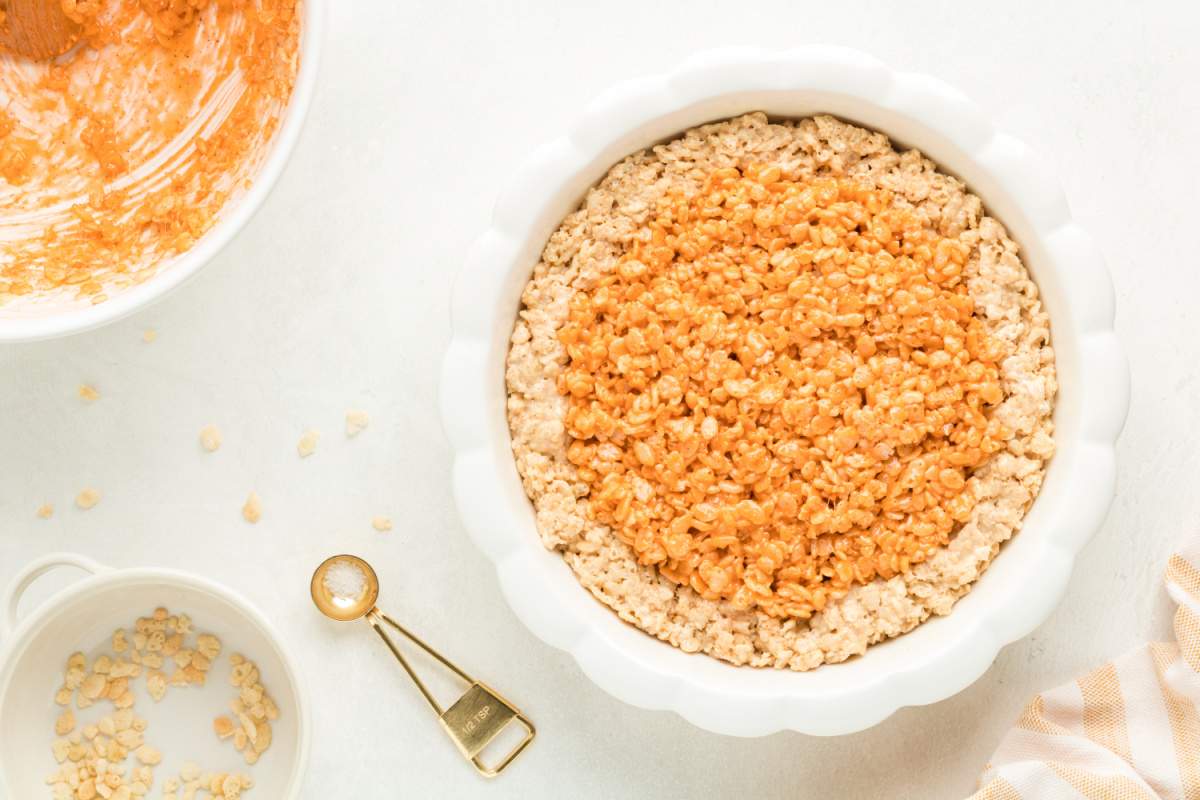
- Turn the mixture out into the prepared pie dish. Lightly spray your hands with cooking spray and press the mixture around the edge of the pan to create the crust. The crust should be approximately 1” thick. Set aside while you prepare the filling.
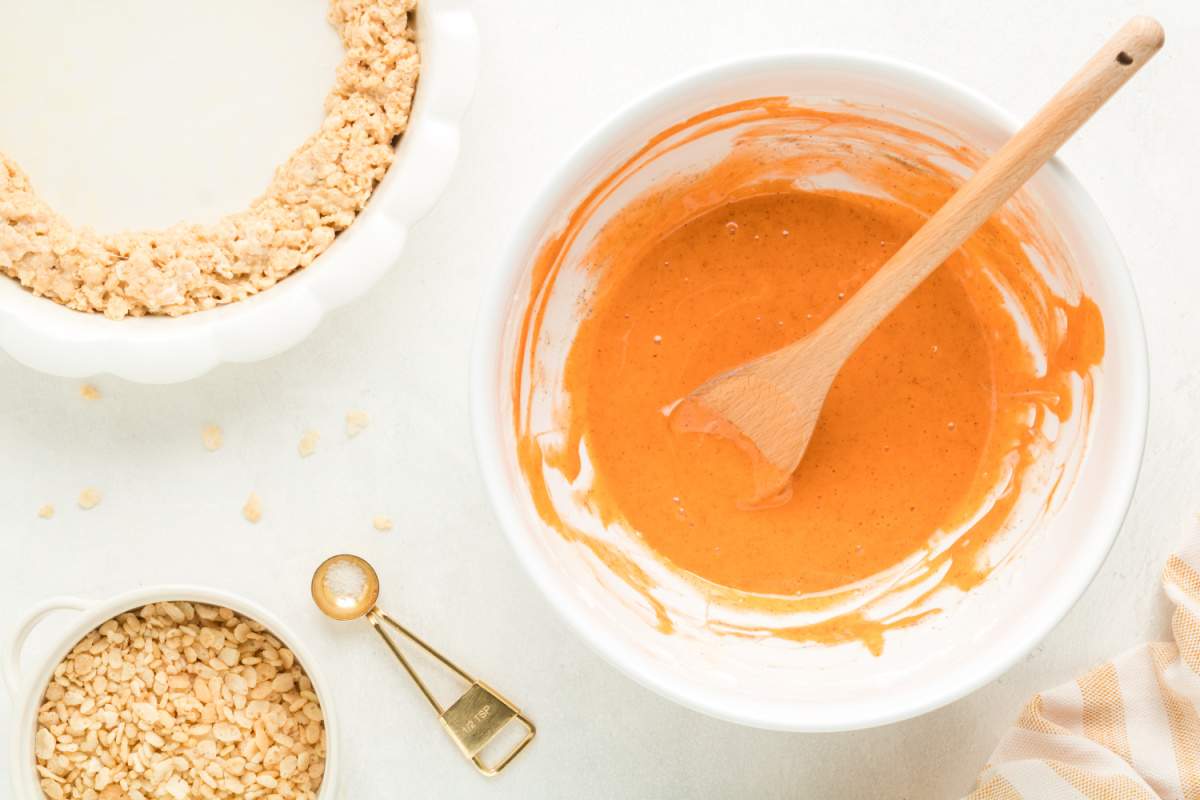
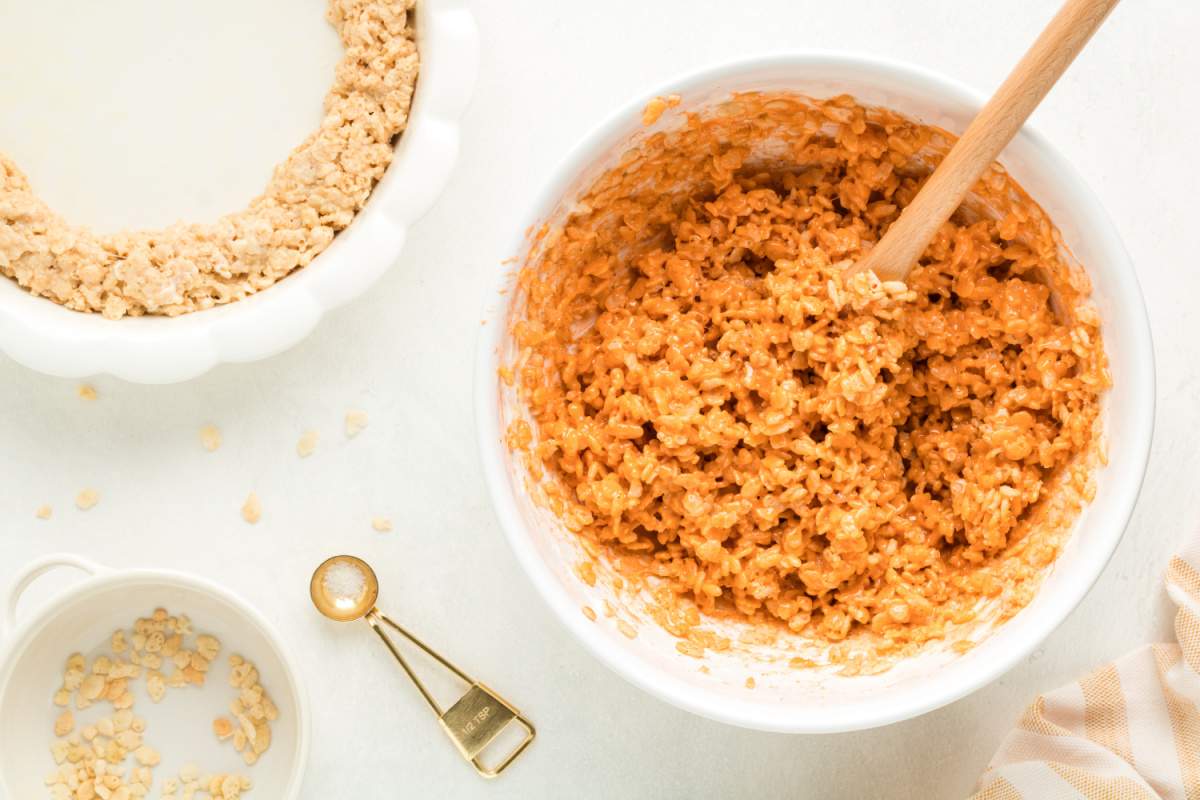
- In another large microwave safe bowl add the remaining 6 ounces of marshmallows (about 24 marshmallows or 3 cups) and 2 ½ tablespoons of butter. Microwave on high for 60 seconds then stir. Microwave for another 30 seconds and stir until smooth. Stir in the remaining ½ teaspoon of vanilla, salt, food color and pumpkin pie spice until well combined.
- Add the remaining 3 cups of rice krispies cereal to the marshmallow mixture and stir until well combined and evenly coated.
- Turn the mixture out into the center of the prepared pie dish. Lightly spray your hands with cooking spray and press the mixture down to fill the center of the pie. Set the pie aside to set for at least 30 minutes to set before cutting into 8 slices and serving. Decorate with whipped cream if desired.
More Thanksgiving Recipes We Love
Pumpkin Pie Rice Krispies Treats
Email this recipe!
Get this recipe emailed straight to your inbox!
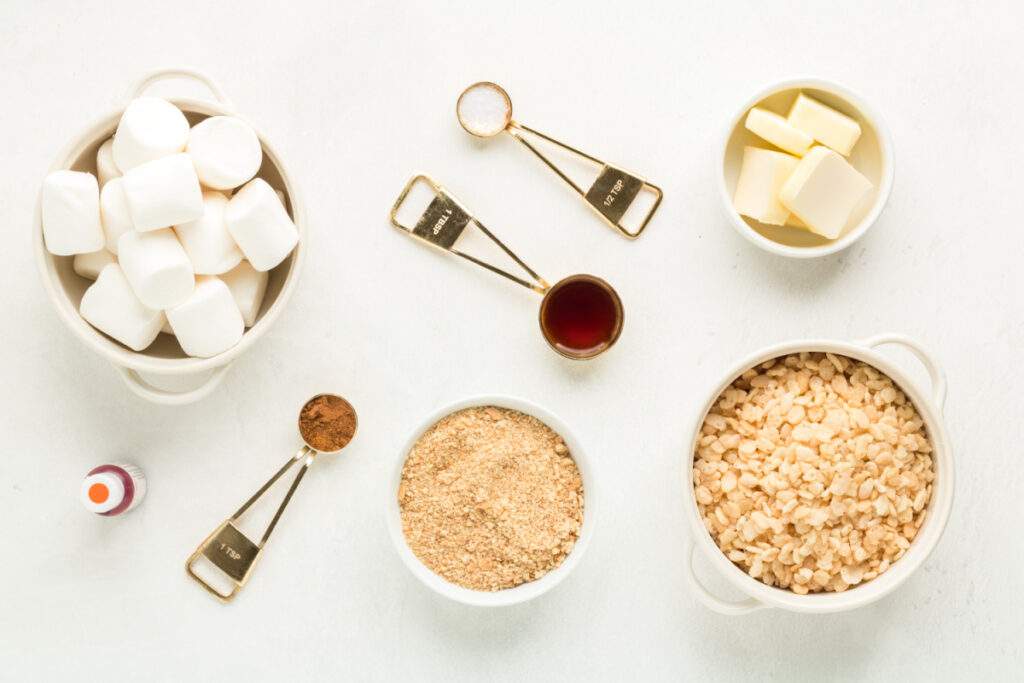
Ingredients
- 10 ounces regular size marshmallows divided (not minis)
- 4 tablespoons unsalted butter divided (½ stick)
- 1 teaspoon vanilla extract divided
- 4 cups rice krispies cereal
- ½ cup graham cracker crumbs
- ¼ teaspoon kosher salt
- 3-4 drops orange food color
- 1 ½ teaspoons pumpkin pie spice
Instructions
- Spray a 9” round pie dish or cake pan with cooking spray and set aside.
- Add 4 ounces of marshmallows (about 16 marshmallows or 2 cups) and 1 ½ tablespoons of butter to a large microwave safe bowl. Microwave on high for 45 seconds then stir to combine. Microwave for an additional 30 seconds and stir until smooth and well combined. Stir in ½ teaspoon of vanilla.
- Add 1 cup of rice krispies cereal and graham cracker crumbs to the marshmallow mixture and stir until well combined and uniformly coated.
- Turn the mixture out into the prepared pie dish. Lightly spray your hands with cooking spray and press the mixture around the edge of the pan to create the crust. The crust should be approximately 1” thick. Set aside while you prepare the filling.
- In another large microwave safe bowl add the remaining 6 ounces of marshmallows (about 24 marshmallows or 3 cups) and 2 ½ tablespoons of butter. Microwave on high for 60 seconds then stir. Microwave for another 30 seconds and stir until smooth. Stir in the remaining ½ teaspoon of vanilla, salt, food color and pumpkin pie spice until well combined.
- Add the remaining 3 cups of rice krispies cereal to the marshmallow mixture and stir until well combined and evenly coated.
- Turn the mixture out into the center of the prepared pie dish. Lightly spray your hands with cooking spray and press the mixture down to fill the center of the pie. Set the pie aside to set for at least 30 minutes to set before cutting into 8 slices and serving. Decorate with whipped cream if desired.
Video
Nutrition
Nutritional Disclaimer: Family Fresh Meals is not a dietician or nutritionist, and any nutritional information shared is only an estimate. We recommend running the ingredients through an online nutritional calculator if you need to verify any information.
Did You Make This Recipe?
Make sure to share it with me below!
