

How to Make PERFECT Hard Boiled Eggs in the Oven

I love hard boiled eggs.
Why don’t I make them all the time? Well, the thought of getting a big old pot of water boiling, and then timing the boiling, flame on, flame off, lid on , lid off…. UGH!
Half the time I end up timing something wrong, and end up with over cooked, hard to peel eggs. OMG…. peeling hard boiled eggs is the pits!So when I kept seeing the idea on Pinterest, of hard boiling eggs in the oven, I HAD to give it a try.
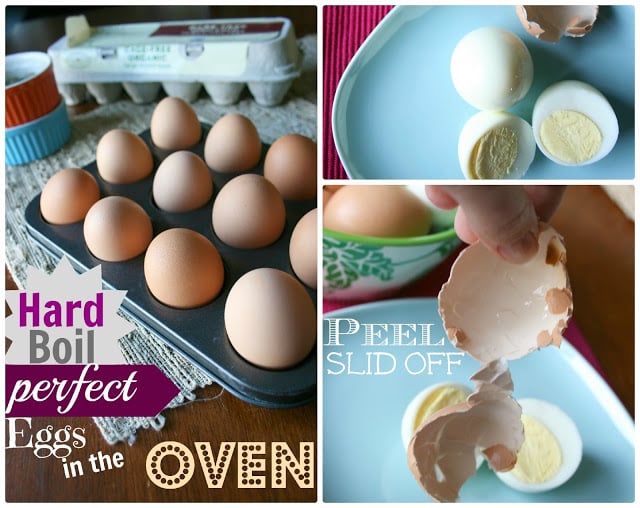
Ok people. This is a game changer. Eggs go in the oven for 30 minutes, then in a bowl of ice water to cool. That’s IT! You wanna know the BEST part? The peel practically slides off in one piece. I kid you not!
Email Me This Recipe!
Need to save time? Have this article emailed straight to your inbox + sign up for all the latest recipes!
Easy peel hard boiled eggs = the best thing ever.
Looking for an Instant Pot Hard Boiled Egg Recipe? I have one here!
Here is what you do.
PLEASE DO A TEST RUN with a couple eggs until you figure out the correct cooking temp for your oven.
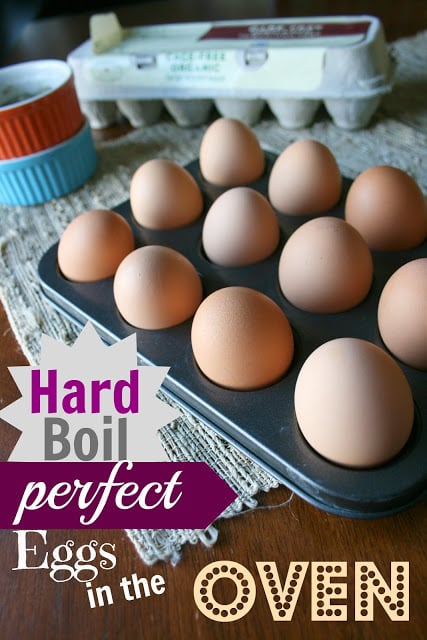
How to Make PERFECT Hard Boiled Eggs in the Oven
- Preheat your oven to 325 degrees F. If you know your oven runs cooler, try 350 temp. Place eggs in a muffin tin to prevent them from rolling around. Cook for 30 minutes.
- After the 30 minutes, remove eggs from the oven and place in a bowl of ice water to stop the cooking process. I left them in there for about 10 minutes.

- That’s it! Perfect eggs every time. I have cooked about 4 dozen so far and have had success with EVERY batch. Not an egg lover? Make sure to pin this one for Easter time.. it will be a life saver for coloring eggs 🙂

How to Make PERFECT Hard Boiled Eggs in the Oven
Email this recipe!
Get this recipe emailed straight to your inbox!
Ingredients
- Dozen eggs
Instructions
- Preheat your oven to 325. Some of the posts I found said between 325-350. My eggs turned out perfect at 325. If you know your oven runs cooler, try out a higher temp. Otherwise, go for the 325.
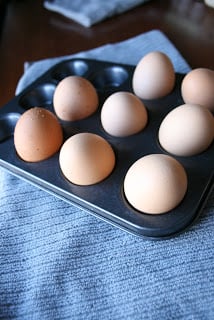
- Place eggs in a muffin tin to prevent them from rolling around.
- Cook for 30 minutes.
- After the 30 minutes, remove eggs from the oven and place in a bowl of ice water to stop the cooking process.I left them in there for about 10 minutes.
Nutrition
Nutritional Disclaimer: Family Fresh Meals is not a dietician or nutritionist, and any nutritional information shared is only an estimate. We recommend running the ingredients through an online nutritional calculator if you need to verify any information.
Did You Make This Recipe?
Make sure to share it with me below!


Just saved my Easter! We’re on our family holiday and had nothing to boil the eggs in!, I rememberedreading something about making them in the oven and google led me to your article! Easter egg decorating has been saved!
Yay Brandy!
Corey, I wanted to help restore your faith in mankind by telling you that I tried this – ONE EGG AT A TIME – until I got it figured right for my oven. Only took me two tries. One at 325 and one at 300 – my oven runs hot apparently. Eggs are just cooling now so I don’t know how they peel . However, given that they are for decorating and I don’t personally eat them I am just ecstatic that they were easy to cook! Mine also have brown spots on outside but it just washes off.
Sorry! didn’t realize first post went! I have not posted to a website like this in about 10 years! But could not resist after seeing all of the people grumping about wasting a dozen eggs.
Hahaha. No worries Joelle! I am glad you did the test run! I hope you found the “sweet spot” for your egg cooking 🙂
I just performed the Great Eggsperiment – two eggs in ramekins, baked at 325 degrees with the convection on (circulating the air in the oven). At the same time I put the other 10 eggs in a saucepan and added enough water to cover them by 1″, plus 1 teaspoon of baking soda. I also threw in a handful of red onion skins to see what kind of coloring it would give. I brought the pan to a boil, reduced the heat slightly, and simmered for 3 minutes, then removed the pan from the heat and let it set for 10 minutes. Both the boiled and baked eggs went into a large bowl of ice water for 5 – 15 minutes. The baked eggs took 10 minutes longer, although some of that was preheating time. I peeled one of each egg, and both were beautiful – easy to peel, firm but not tough whites, and creamy yellow yolks. The baked eggs took a little longer but were easier and I could do other things during the 30 minutes, but mine did have brown speckles on the outside, most of which came off in the water (next time I’ll wash them first), and two tiny brown spots inside that may be corrected with the use of a silicone pan. The boiled eggs were an amber color from the onion skins, making them easy to identify as hard boiled, and were faster. Both tasted the same. I’ll probably continue to boil if I want to color them, and I’ll bake them when I want either a very large or very small quantity.
I did three batches. First batch was perfect! Second batch..fail. Third, nope. Why did I not get the brown spots and difficulty in peeling the first time, but next two failed? Here is why…The first batch was made with older eggs. I believe that the brown spots have something to do with the moisture content in the shell. The longer they are in your refrigerator, the more the shell dries out. And older eggs always peel much easier. So from now on, I will buy my eggs a week before baking them. But when they cook up right, they are perfect…
I rebelled at peeling eggs, so my sister sent me this link. If you’re just looking for eggs for salad, I tried a doz and a half. Break into fair sized bowl, prick yolks with fork, cover w/plastic wrap, MICROWAVE 3 min, stir (whites cook faster, stir them toward center), cook 4 more min. Let cool to room temp, wouldn’t be bad to refrig overnite, chop with knives, add your salad ingreds, and enjoy! Don’t think I’ll ever go back to peeling, even for deviled eggs. May nuke whites in flat dish and spread deviled yolk mixture like frosting, then cut in squares. May look weird, but bet it’ll taste the same. Haven’t actually tried that yet, so will have to figure out times.
Think I’ll try this just for the fun of it. Thanks!