

How to Make PERFECT Hard Boiled Eggs in the Oven

I love hard boiled eggs.
Why don’t I make them all the time? Well, the thought of getting a big old pot of water boiling, and then timing the boiling, flame on, flame off, lid on , lid off…. UGH!
Half the time I end up timing something wrong, and end up with over cooked, hard to peel eggs. OMG…. peeling hard boiled eggs is the pits!So when I kept seeing the idea on Pinterest, of hard boiling eggs in the oven, I HAD to give it a try.
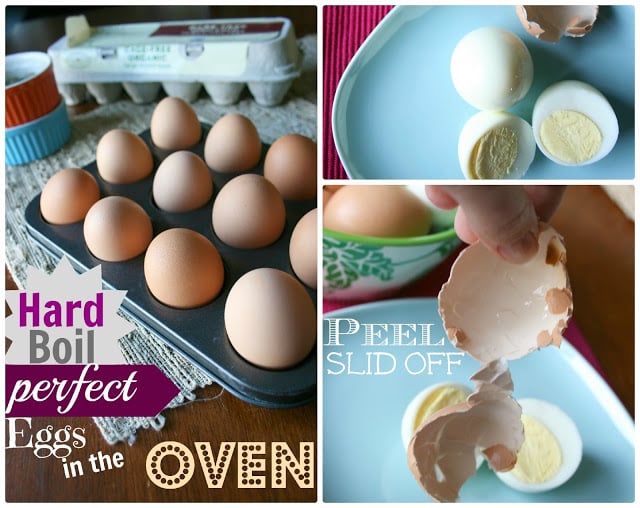
Ok people. This is a game changer. Eggs go in the oven for 30 minutes, then in a bowl of ice water to cool. That’s IT! You wanna know the BEST part? The peel practically slides off in one piece. I kid you not!
Email Me This Recipe!
Need to save time? Have this article emailed straight to your inbox + sign up for all the latest recipes!
Easy peel hard boiled eggs = the best thing ever.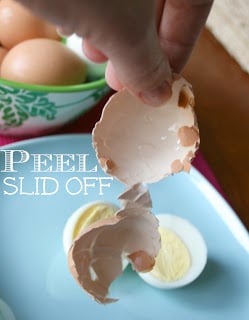
Looking for an Instant Pot Hard Boiled Egg Recipe? I have one here!
Here is what you do.
PLEASE DO A TEST RUN with a couple eggs until you figure out the correct cooking temp for your oven.
How to Make PERFECT Hard Boiled Eggs in the Oven
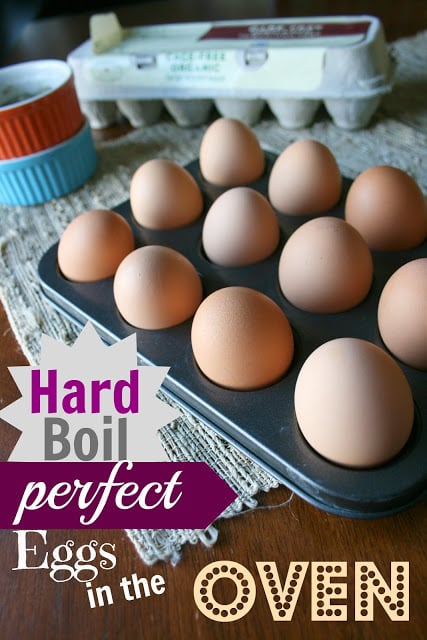
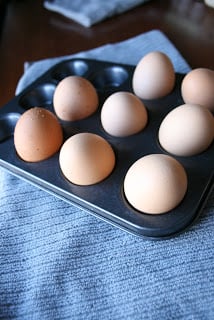
- Preheat your oven to 325 degrees F. If you know your oven runs cooler, try 350 temp. Place eggs in a muffin tin to prevent them from rolling around. Cook for 30 minutes.
- After the 30 minutes, remove eggs from the oven and place in a bowl of ice water to stop the cooking process. I left them in there for about 10 minutes.

- That’s it! Perfect eggs every time. I have cooked about 4 dozen so far and have had success with EVERY batch. Not an egg lover? Make sure to pin this one for Easter time.. it will be a life saver for coloring eggs 🙂

How to Make PERFECT Hard Boiled Eggs in the Oven
Email this recipe!
Get this recipe emailed straight to your inbox!
Ingredients
- Dozen eggs
Instructions
- Preheat your oven to 325. Some of the posts I found said between 325-350. My eggs turned out perfect at 325. If you know your oven runs cooler, try out a higher temp. Otherwise, go for the 325.
- Place eggs in a muffin tin to prevent them from rolling around.
- Cook for 30 minutes.
- After the 30 minutes, remove eggs from the oven and place in a bowl of ice water to stop the cooking process.I left them in there for about 10 minutes.
Nutrition
Nutritional Disclaimer: Family Fresh Meals is not a dietician or nutritionist, and any nutritional information shared is only an estimate. We recommend running the ingredients through an online nutritional calculator if you need to verify any information.
Did You Make This Recipe?
Make sure to share it with me below!


I think people need to consider making adjustments for their ovens.
I tried this today using my gas stove. I wasn’t completely sure how it would turn out because MY oven does get pretty hot.
My rack was in the middle — went ahead and cooked as you directed, but I too had the brown spots (although the eggs WERE fabulously easy to peel). The majority of the brown spots were on the bottom half of the egg — which was the section touching my muffin tin.
I’m going to try again because I simply love this idea … but I think I’m going to experiment with lowering the rack and the temp. Hopefully that works!
YAY, I’m glad they peeled well for you 🙂 I like the idea of lowering the rack. Can I ask… were the brown spots on the shell or do they show up on the actual egg. I still haven’t had this happen and am curious as to these spots. Are there a lot of spots or just a small one where they are touching the muffin tin, like you said. Thanks Rachel!
They were on the egg itself (visible after peeling). I peeled two of the six eggs I baked — both had them and there were 2-3 spots on each. All were where the egg had rested against the metal sides of the muffin tin. So, I think it’s an issue with the metal heating up and burning them a bit.
Brown spots are happening for 2 reasons.
1. Rinse eggs first especially if you bought them at the store. There tends to egg whites on the outside from broken eggs in the packing process.
2. This is only a guess about the inside spots. When you boil eggs in water you can see air escaping the shell. The spots appear where the pin holes are. I had one with a thin line that looked like a scratch on the shell. The inside had the same line browned on the egg white. Next batch I am considering what type of oil I could rub on that might not brown in the baking. Not sure yet about that. If I don’t want to dye the egg I would think it would take care of the problem.
By the way, this was an awesome way to cook 15 dozen for an Easter Event.
Great tips Alisa! Thank you 🙂
Two questions:
1) No mention of egg temp before cooking so I’m guessing you can take them straight from the fridge to the oven.
2) Wonder if a silicone muffin pan would eliminate the brown spots?
Going to try it for the first time in a few minutes for tonight. I’m trying both a metal pan for 6 eggs and a silicone pan for 6. I’m putting my rack in the center of my (electric) oven.
Wish me luck!!
And I’m going to bake at 325 degrees. {side note: anyone know how to make a degree symbol appear? 🙂 }
i like your methodical mind there Denise, curious about the differences. And BTW the “degree” symbol is ALT-0176 (hold down the ALT key and then type ‘0176’
Yes I take them right out of the fridge. I must say, Iv’e never used a silicone pan. Fun! I hope they turned out for you Denise 🙂 XO
Hi I just wanted to let you know that i came across your oven hard boiled eggs on pinterest and tried it out.. Works fantastic! Thank You.
Thank you so much for taking the time to let me know Sarah! I am so glad if worked well for you 🙂 XO
Do you think this would work for soft-boiled eggs?
I have never tried Anne 🙂
Could you try??? hehe… I’m curious to find out!!! lol… I just might experiment, if I find the time… 😀
Silicone mini muffin pan — no brown spots.