Valentine’s Day Brownie Pops
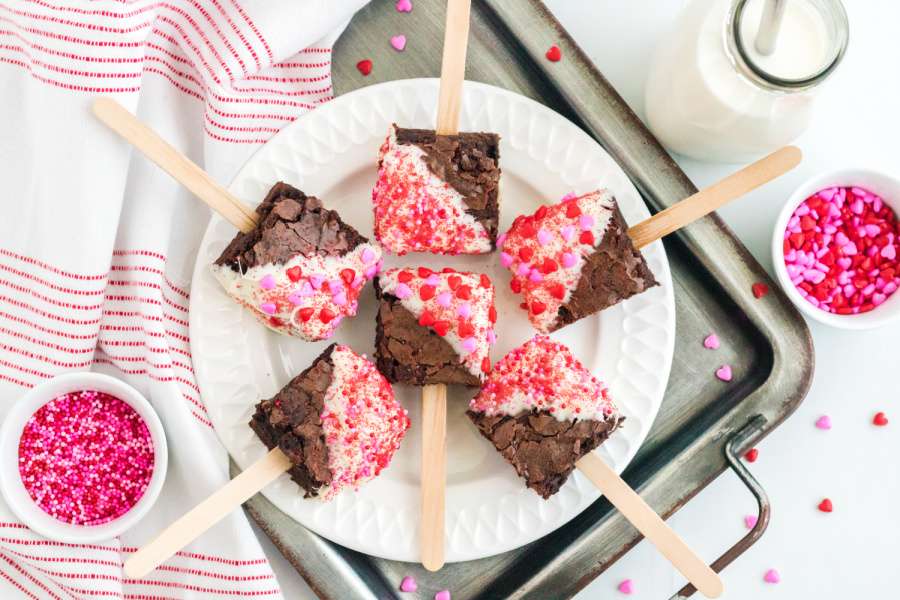
With Valentine’s Day just around the corner, these Valentine’s Day Brownie Pops are going to prove to be an adorable expression of love, kindness, and appreciation for anyone lucky enough to be on the receiving end!
Making these brownie pops is as easy as baking a batch of brownies, inserting popsicle sticks, and decorating each brownie with melted white chocolate and your favorite choice of Valentine-themed sprinkles.
TIPS FOR MAKING VALENTINE’S DAY BROWNIE POPS
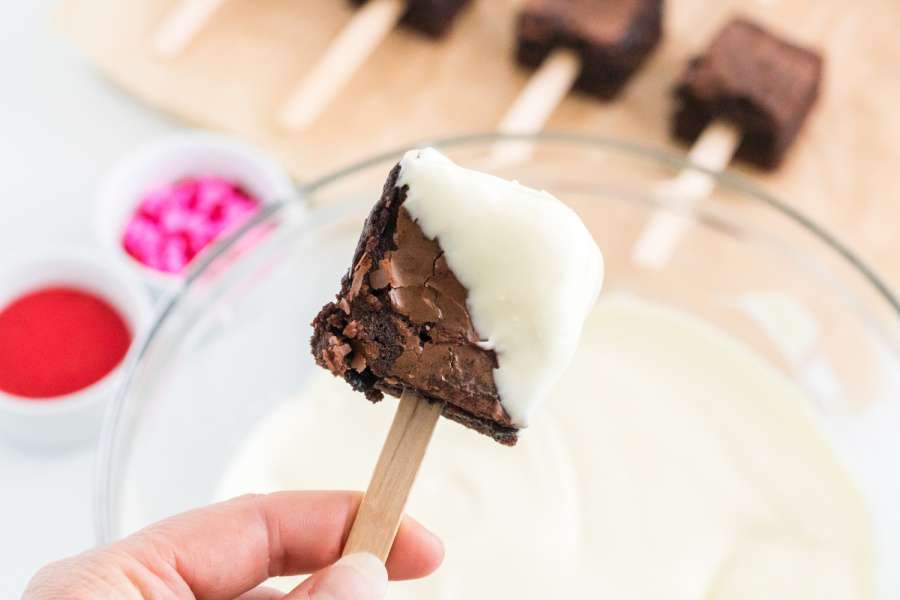
- It’s less risky to hold the brownie pieces by hand for chocolate dipping than by the popsicle stick, for more control.
- It’s totally normal for the melted white chocolate to start collecting small bits of brownie in it as you continue to dip. The sprinkles added do a great job of hiding these bits of brownie. In the event that you don’t want to add sprinkles, make sure to apply the white chocolate using a spoon or knife so that each brownie gets that crisp, clear white coating with no brownie bits in it.
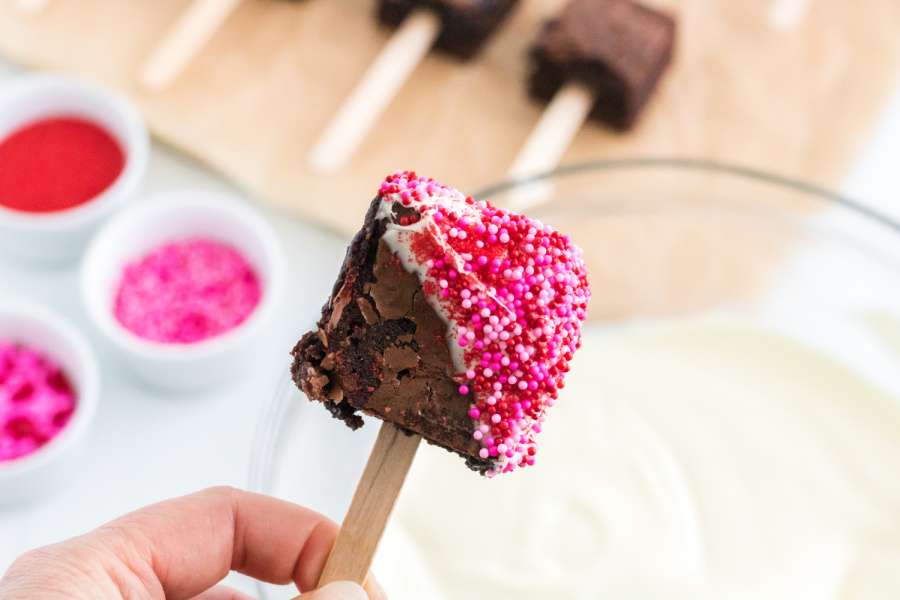
- Follow the process of dipping each brownie and then add sprinkles. If you dip all 16 brownies in chocolate before starting on the sprinkles, the first couple of brownies would have already hardened and it’ll become a challenge to get the sprinkles to stick.
- These adorable Valentine’s day brownie pops make fantastic party gifts! Wrap them up in cellophane and tie a ribbon around them with a gift tag.
WHAT CAN I USE INSTEAD OF POPSICLE STICKS?
- If you don’t have popsicle sticks (the flat wooden variety), then you could use lollipop sticks (which tend to be rounded) instead.
- The benefit of using something like flat wooden popsicle sticks is that they’ll tend to fit better inside the brownie squares with less likelihood of the brownie pops breaking apart. With that said, if your brownies are a decent thickness then you shouldn’t encounter a problem regardless of what you use.
CAN I MAKE THESE VALENTINE’S DAY BROWNIE POPS AHEAD OF TIME?
- Yes! These valentine’s day brownie pops are great to make about 2-3 in advance when stored in an airtight container at room temperature. They will typically last for 3-4 days at room temperature with the option of storing leftovers in the refrigerator for up to 1 week.
Email Me This Recipe!
Need to save time? Have this article emailed straight to your inbox + sign up for all the latest recipes!
CAN I FREEZE VALENTINE’S DAY BROWNIE POPS?
- I don’t recommend freezing these Valentine’s day brownie pops since the chocolate coating and decorative sprinkles are likely not going to do well through the freezing and defrosting process.
- What you can do instead is prepare your brownie pop up until the point where you’ve inserted your popsicle sticks inside the brownies. Next, arrange the brownie pops on a baking sheet wrapped with plastic wrap.
- Store your brownie pops in the freezer for up to 1 month. When ready to assemble, bring your brownie pops to room temperature and complete the rest of the chocolate coating and decorating steps just prior to serving.
Valentine’s Day Brownie Pops
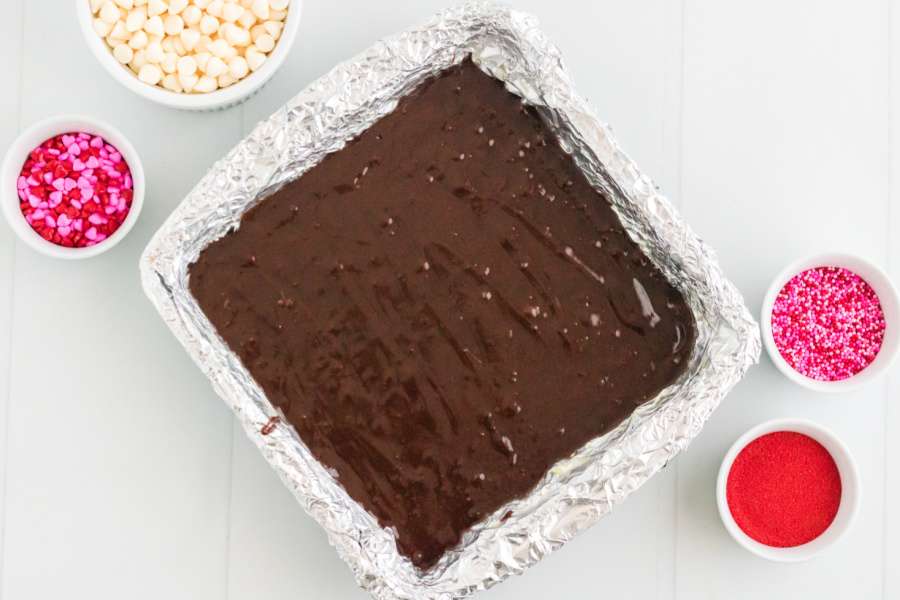
- Cover an 8×8 inch baking pan with aluminum foil on, making sure to cover the entire surface of the dish. Then spray the pan with cooking spray. Set aside.
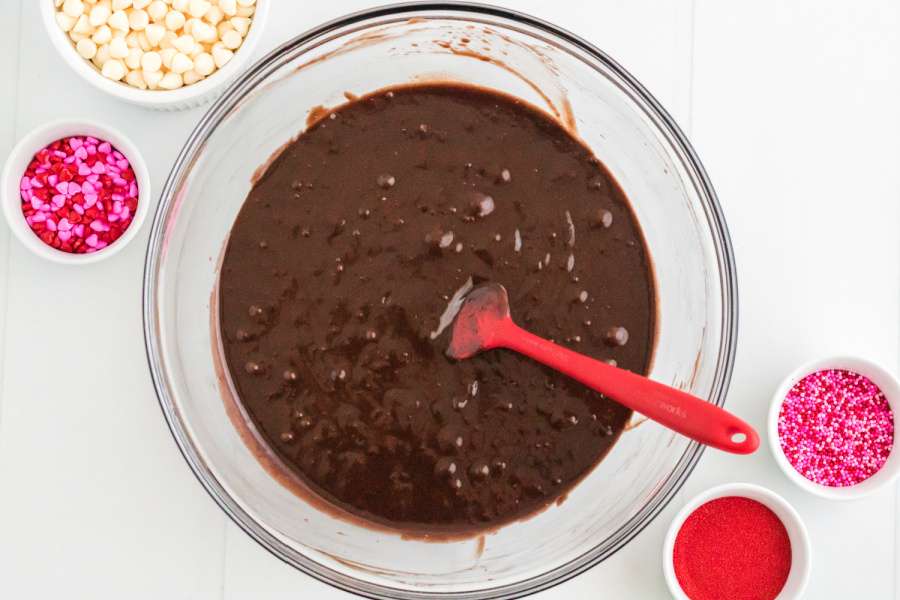
- Prepare the brownie batter per the instructions on the brownie mix box and pour it into the prepared baking pan.
- Bake the brownies according to the time chart on the back of the brownie mix box.
- When the brownies are done baking, remove them from the oven and place the pan on a cooling rack for about 10 minutes or until it is at room temperature.
- Next, take the pan and place it in the freezer for 45-60 minutes. You may want to set a potholder beneath the dish.
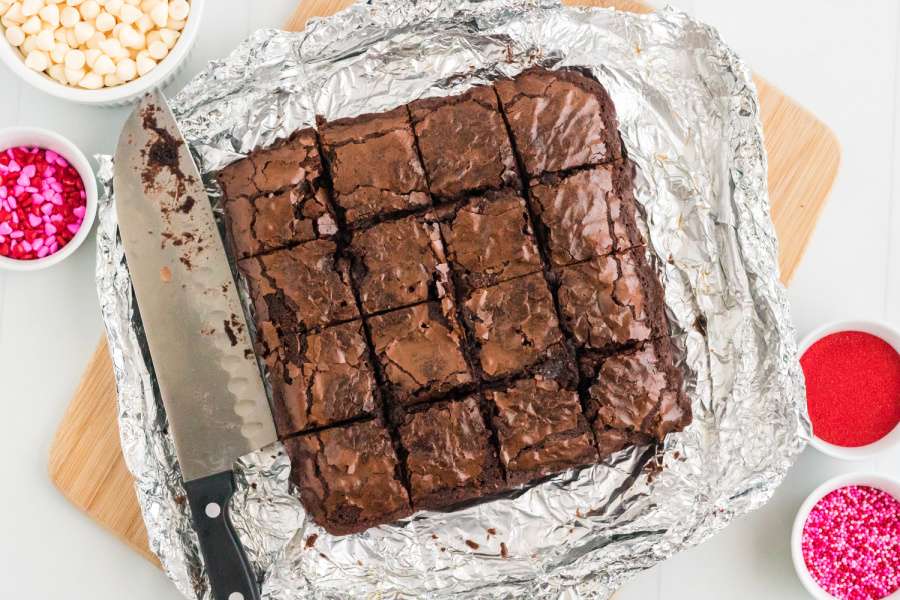
- After the brownies have chilled, peel the aluminum from around the sides of the baking dish and lift the brownies out, placing them on a cutting board or parchment paper. Cut the brownies into 16 even squares and plunge a popsicle stick into the bottom of each square to make a “pop”.
- Melt the white chocolate in a bowl over a double boiler until smooth. You can also microwave in a microwave safe bowl, for 10- 15 seconds at a time, stirring in between sessions until smooth. Remove the bowl and set on a heat-safe surface.
- Working quickly, dip each brownie into the white chocolate and cover it with sprinkles. **See note in the “tips” section for more detail**.
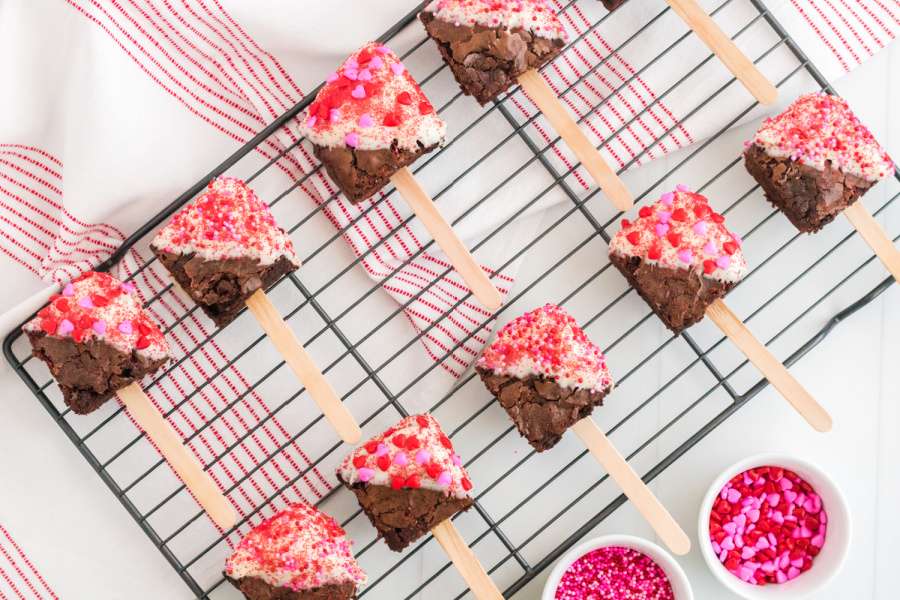
- Set the brownie pop on a cooling rack or a piece of parchment paper. Let them sit for 10 minutes or you can also place them in the refrigerator for 10 minutes so that the white chocolate can harden.
- Enjoy this fun treat!
Love is in the Air with these Valentine’s Day Recipes
- Valentine’s Day Popcorn Treat
- Valentine’s Pink Hot Cocoa with Free DIY Gift Tags
- Valentine’s Day Snack Mix with Free Printables
- Valentine’s Day Brownie Pizza

Valentine's Day Brownie Pops
Email this recipe!
Get this recipe emailed straight to your inbox!
Ingredients
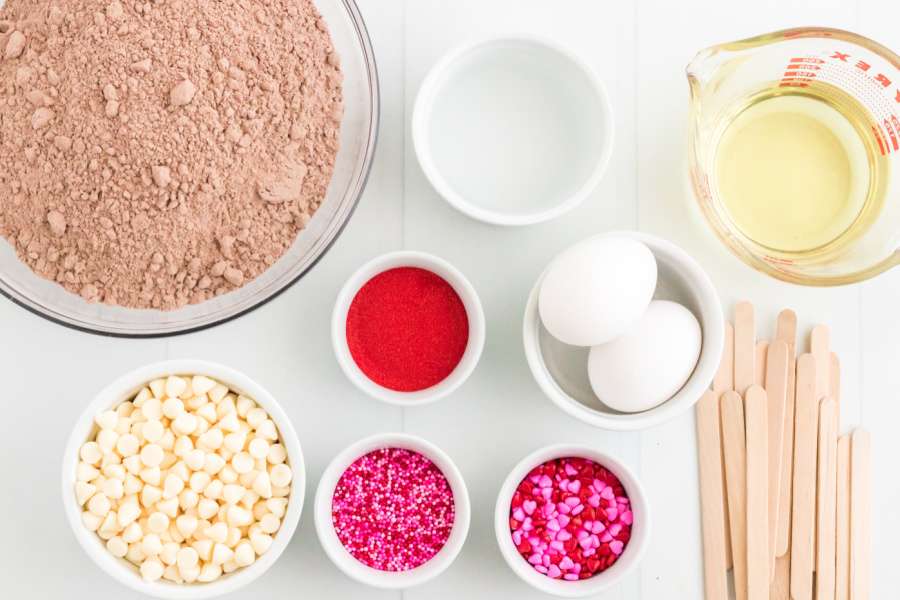
- 1 box 18 oz brownie mix
- Water oil, and eggs to make the brownies (quantities listed on the box mix)
- 16 popsicle sticks found in craft stores
- 12 ounces white melting chocolate
- Holiday sprinkles of your choice
Instructions
- Cover an 8x8 inch baking dish with aluminum foil on, making sure to cover the entire surface of the dish. Then spray the dish with cooking spray. Set aside.
- Prepare the brownie batter per the instructions on the brownie mix box and pour it into the prepared baking dish.
- Bake the brownies according to the time chart on the back of the brownie mix box.
- When the brownies are done baking, remove them from the oven and place the dish on a cooling rack for about 10 minutes or until it is at room temperature.
- Next, take the dish and place it in the freezer for 45-60 minutes. You may want to set a potholder beneath the dish.
- After the brownies have chilled, peel the aluminum from around the sides of the baking dish and lift the brownies out, placing them on a cutting board or parchment paper. Cut the brownies into 16 even squares and plunge a popsicle stick into the bottom of each square to make a “pop”.
- Melt the white chocolate in a bowl over a double boiler until smooth. You can also microwave in a microwave safe bowl, for 10- 15 seconds at a time, stirring in between sessions until smooth. Remove the bowl and set on a heat-safe surface.
- Working quickly, dip each brownie into the white chocolate and cover it with sprinkles. **See note in the “tips” section for more detail**.
- Set the brownie pop on a cooling rack or a piece of parchment paper. Let them sit for 10 minutes or you can also place them in the refrigerator for 10 minutes so that the white chocolate can harden.
- Serve at room temperature.
Notes
- Nutritional Facts will differ depending on what box mix you use, and what extra eggs and oil are needed.
Nutrition
Nutritional Disclaimer: Family Fresh Meals is not a dietician or nutritionist, and any nutritional information shared is only an estimate. We recommend running the ingredients through an online nutritional calculator if you need to verify any information.
Did You Make This Recipe?
Make sure to share it with me below!
